Quick Start Guide
This guide takes an empty organization to its first optimized production run. Steps 2–4 are one-time setup; steps 5–8 are the everyday loop.
Onboarding & Access
The Deckle Plus team sets up your organization during onboarding. Once it's created you're given:
- a 10-digit Organization ID
- a Super Admin username and password
- the URL of your Deckle Plus instance
The team can also load your machines, paper types and GSM profiles for you during onboarding, so you may find steps 2 and 3 already done.
Adding your team
Sign in as the Super Admin and create accounts for your planners, operators and supervisors in Settings → Accounts. Each role gets its own dashboard and its own permissions — see Dashboards and Roles & Access.
Step 1: Sign In
Open your Deckle Plus URL
Enter your Organization ID, username and password
Step 2: Add a Machine
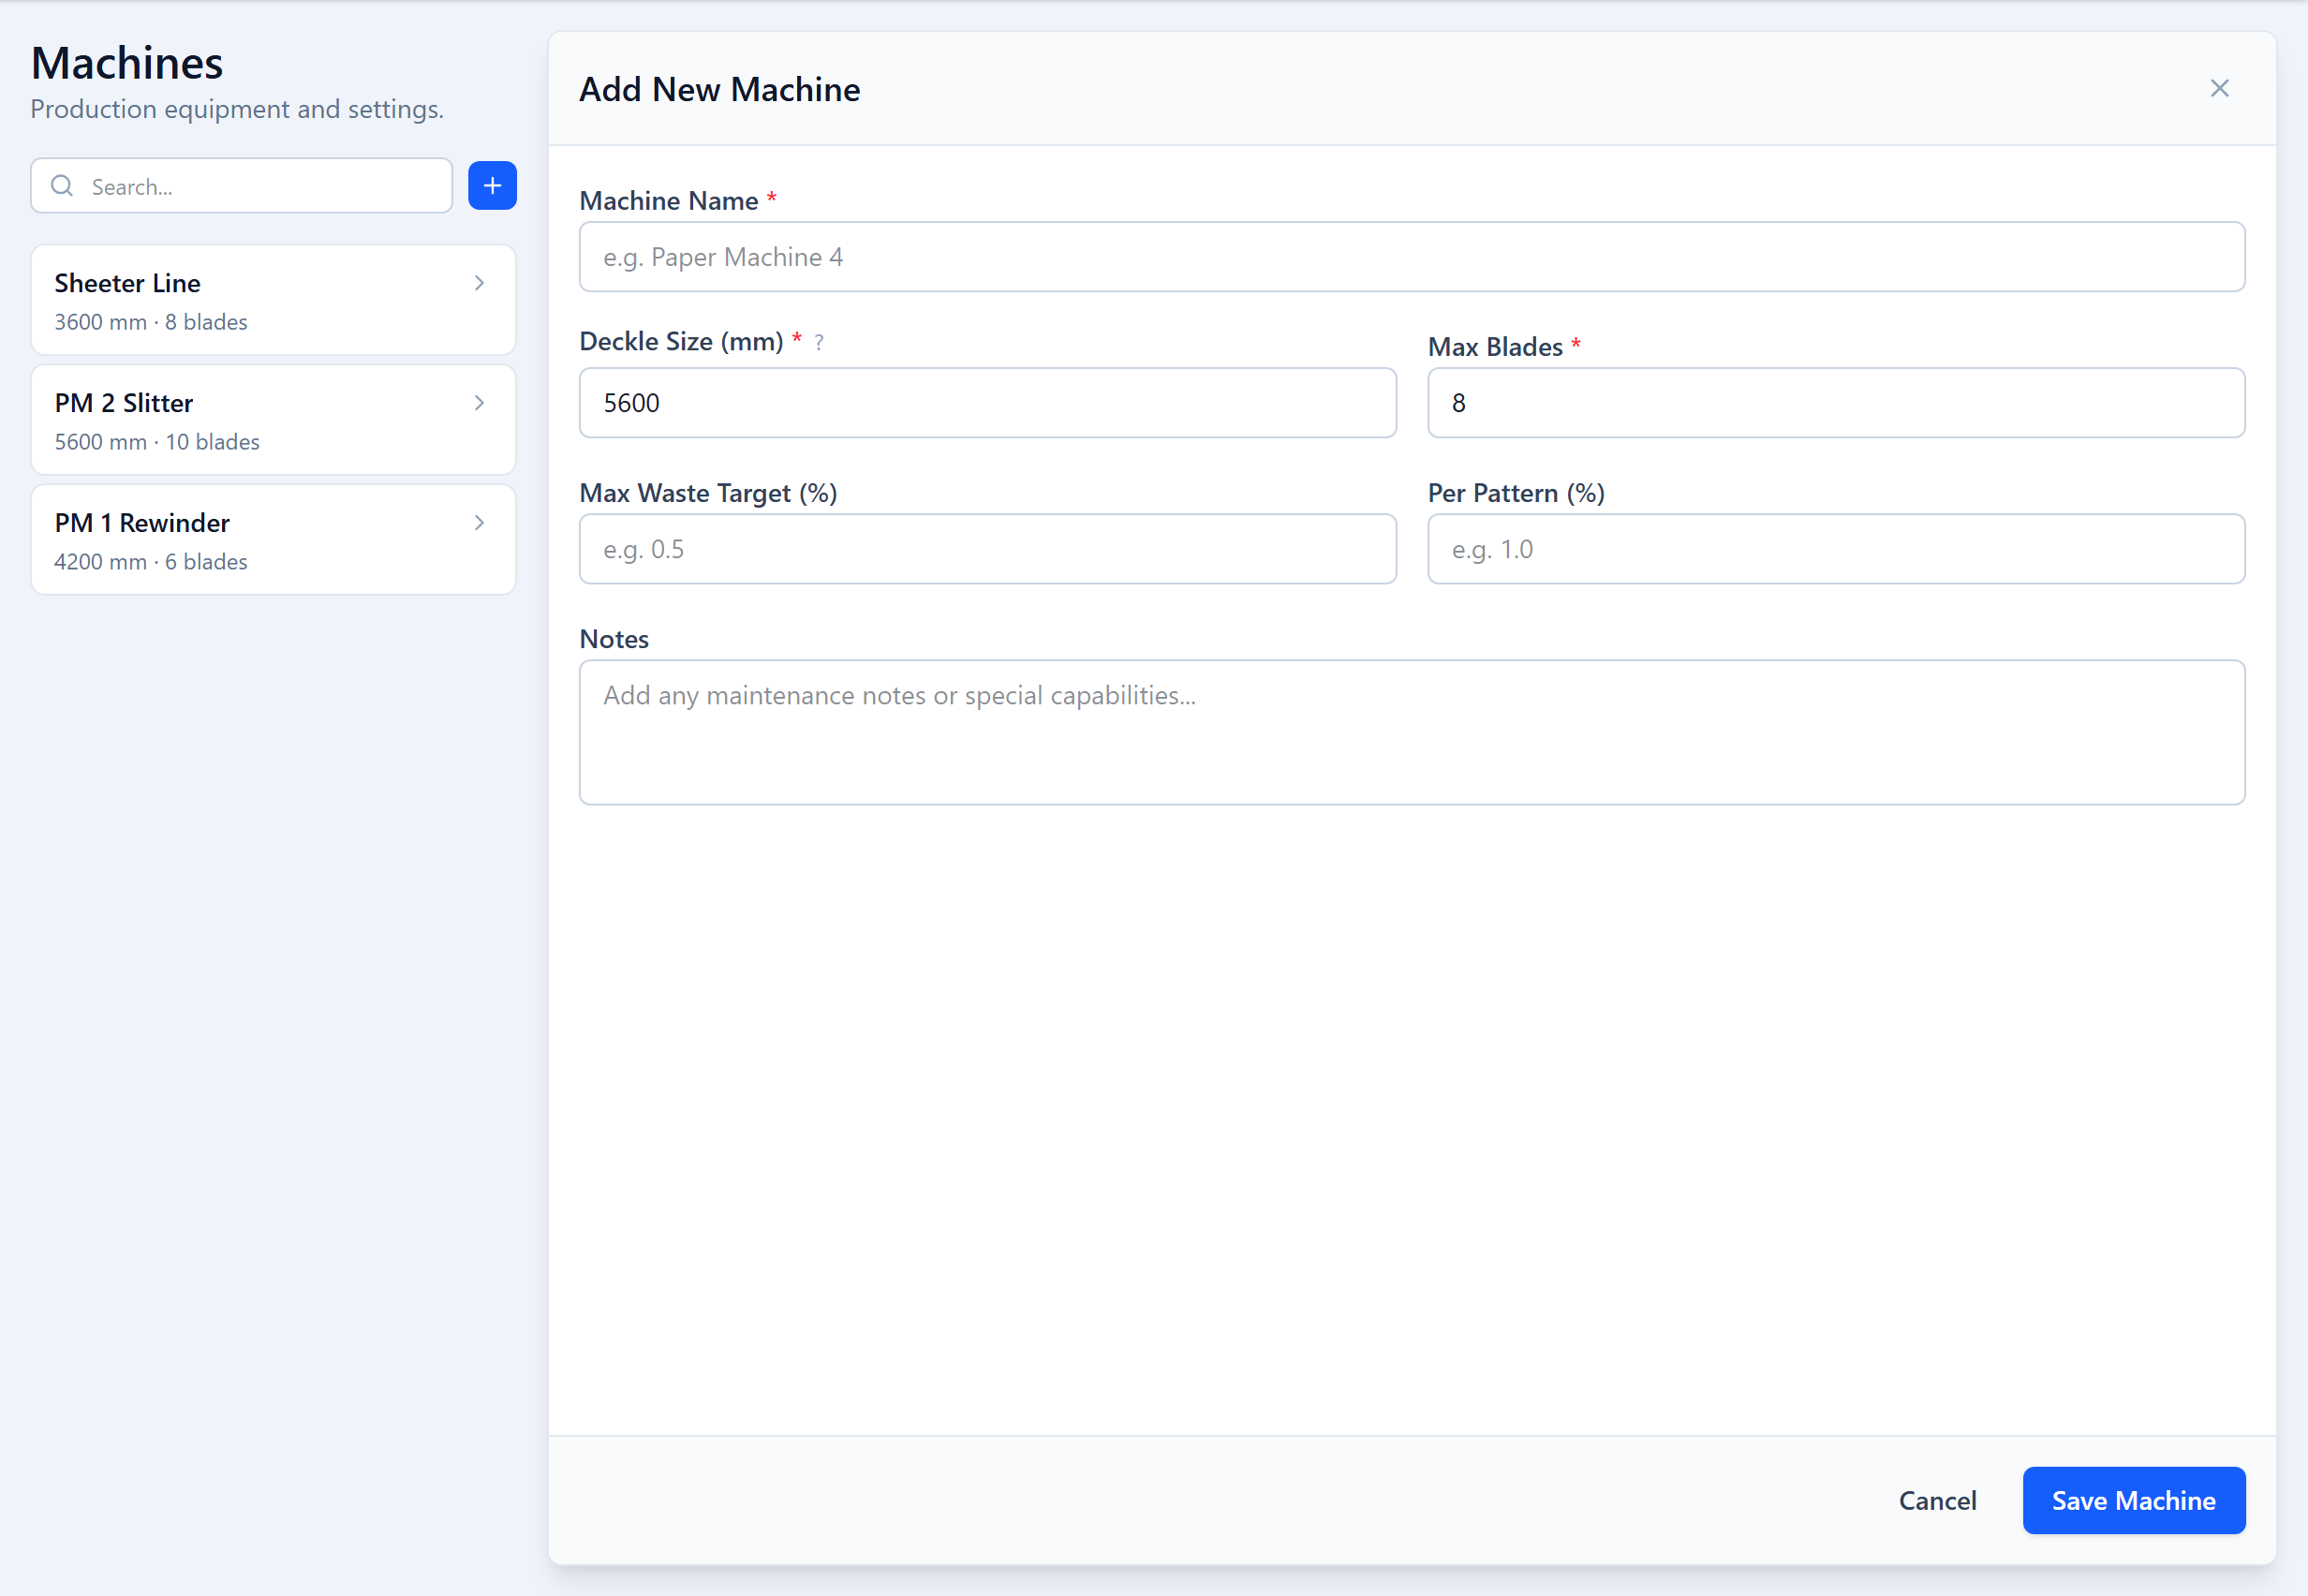
A machine record holds the constraints every optimization for that machine must respect. Machines live under Setup → Machines and only Admins can create them.
Setup → Machines → Add Machine
Enter the machine name and Deckle Size (mm)
Set Max Blades
Optionally set Max Waste Target (%) and Per Pattern (%)
Step 3: Add Paper Types & GSM
Under Setup → Paper Types (Admin only), add each grade you produce and its GSM values. Every GSM carries its own minimum trimming.
Setup → Paper Types → Add Paper Type
Enter the Grade Name
Add one or more GSM rows
Optionally set Average Parent Reel Weight (MT)
Step 4: Add Customers
Every order is linked to a customer. Customers live under Orders → Customers and are created by an Admin.
Orders → Customers → Add Customer
Enter the Company Name and a short ID
Add the address and tax details
Step 5: Enter an Order
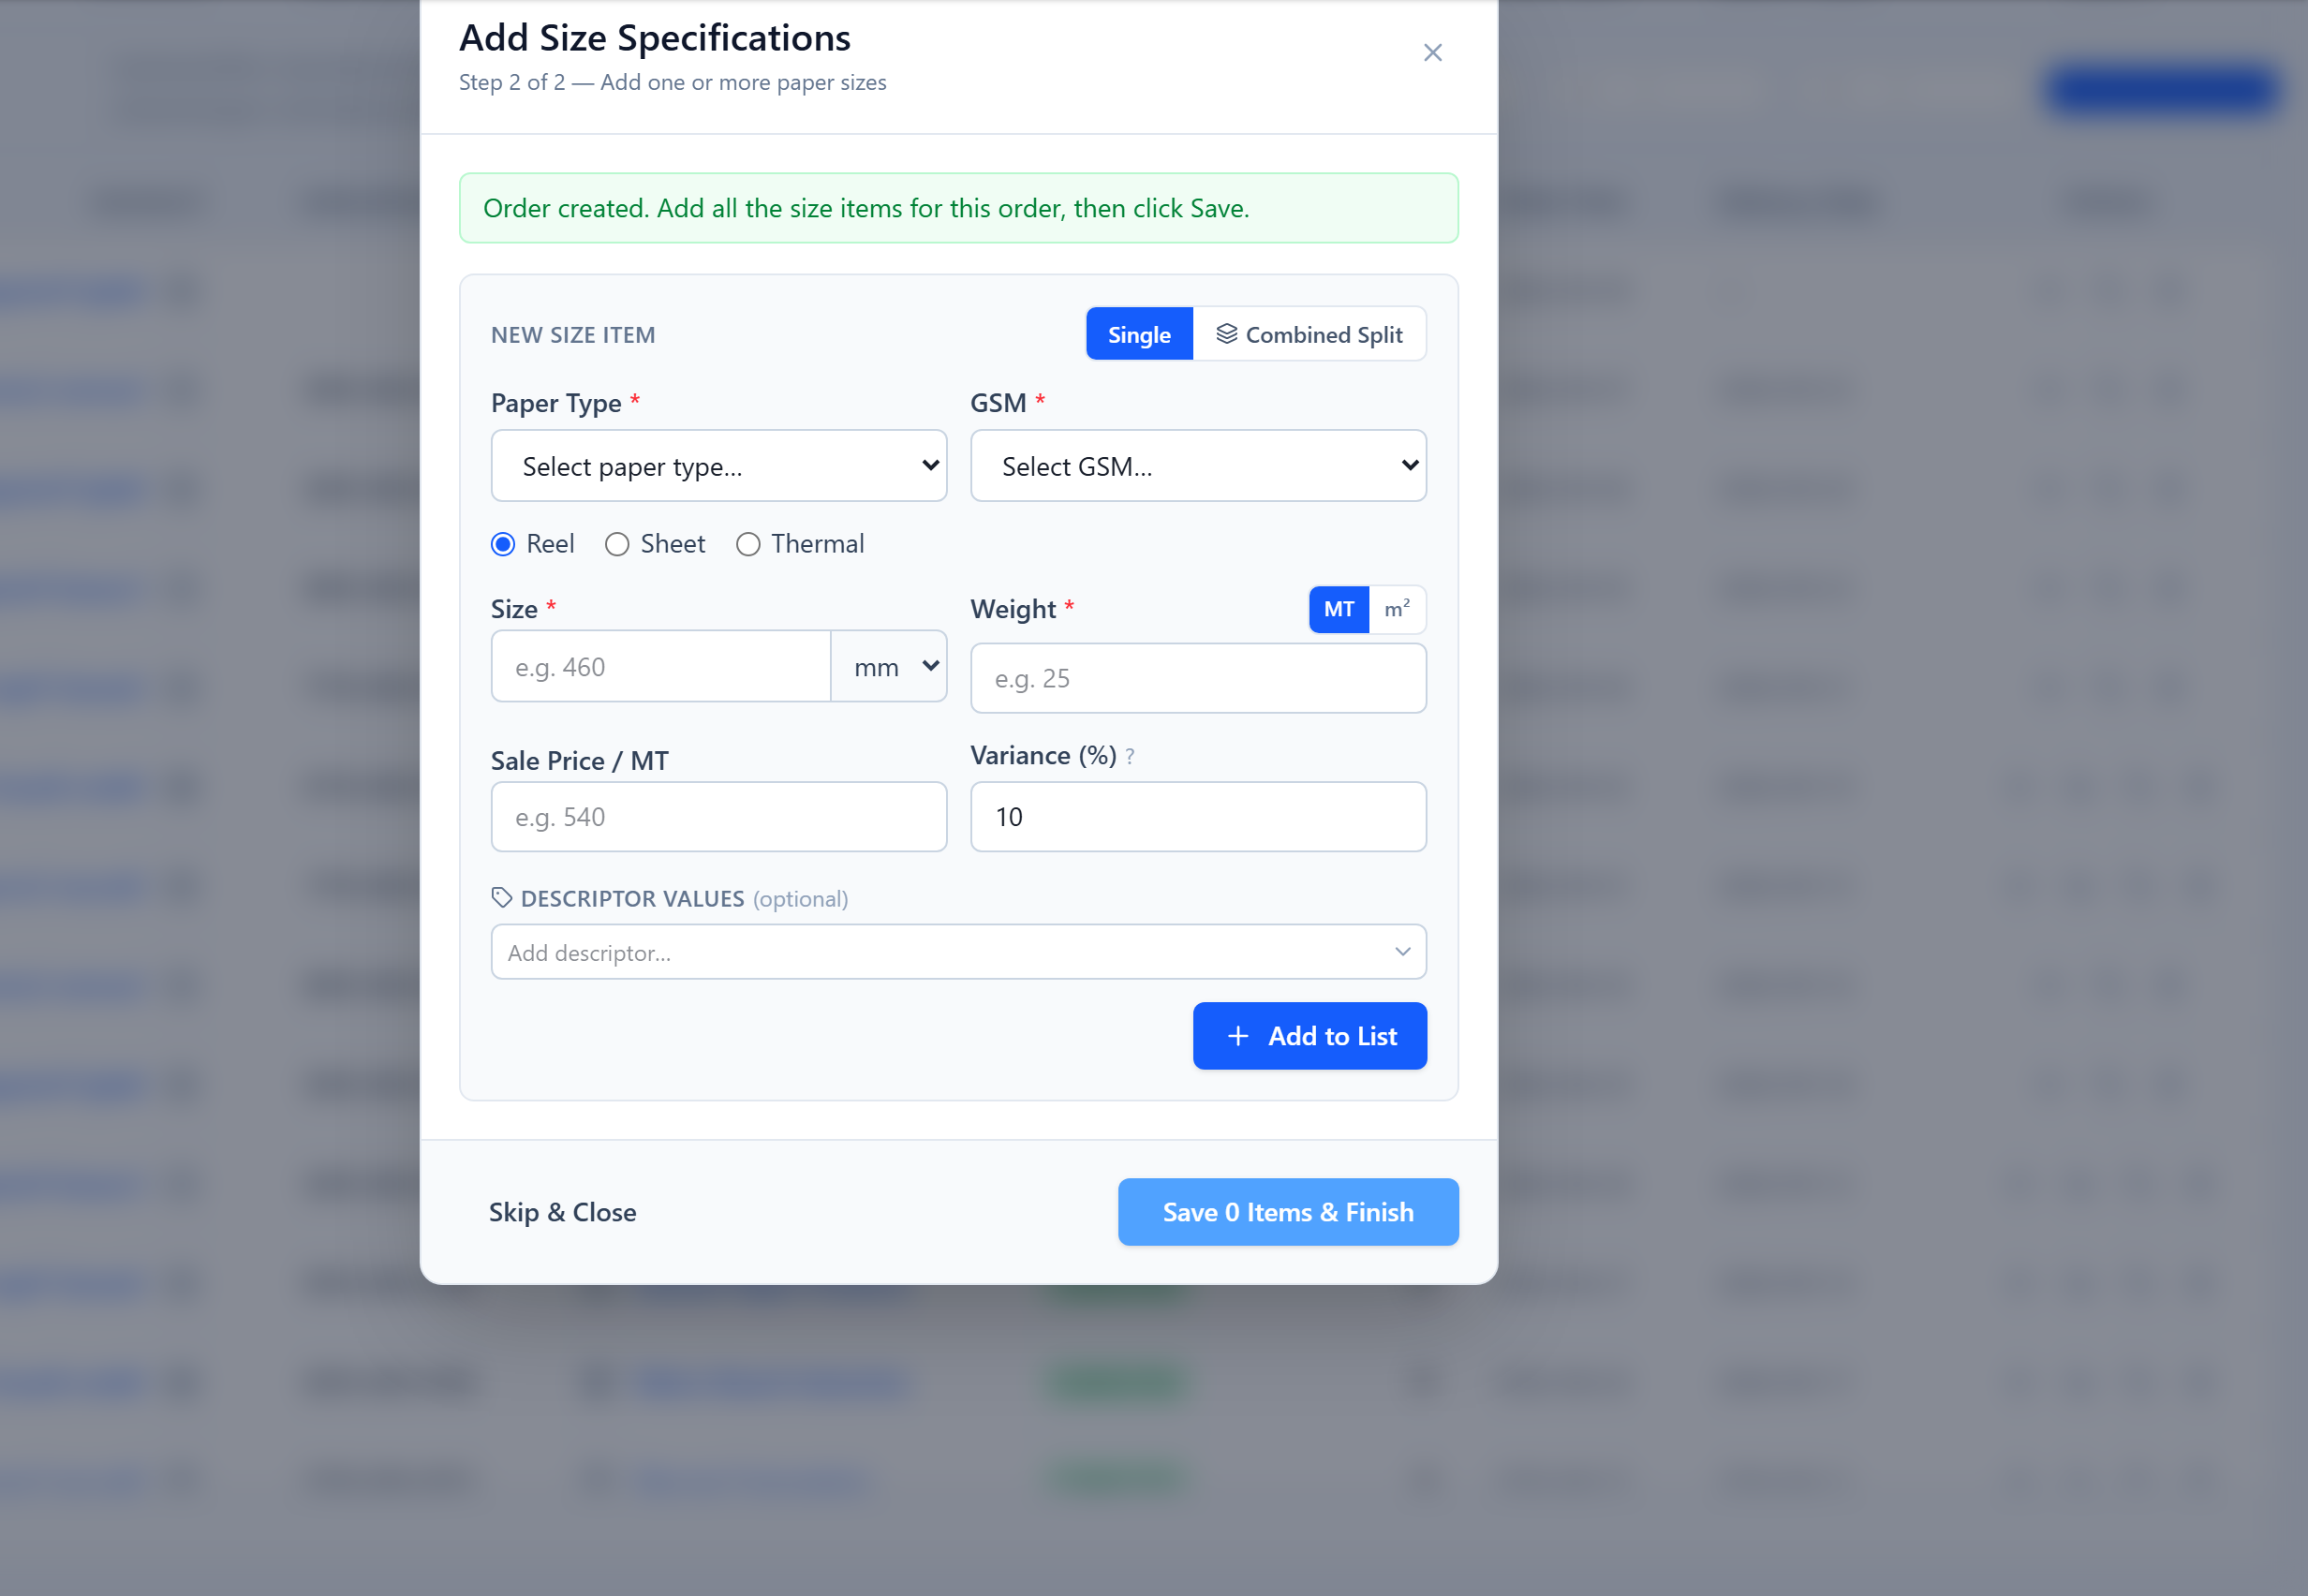
Orders are entered by an Admin under Orders → New Order. Planners view the order queue and plan against it.
Orders → New Order
Add order widths
Mark the order Confirmed
Step 6: Create a Run
Click New Run
Step 1 — Machine & Grade
Step 2 — Select Widths
Step 3 — Review & Create
Step 7: Optimize & Accept
Open the run and click Optimize
Review the candidate results
Accept a result
Step 8: Produce & Complete
An operator starts the run
Complete each pattern
The run completes
Going Live
A typical rollout is: day 1, set up machines, paper types and customers (often done with the Deckle Plus team during onboarding); day 2, enter real orders, create and optimize your first run, and produce it on the floor. From then on every shift is planned, tracked and closed in Deckle Plus.
Was this page helpful?
Something unclear or missing? Reach out and we'll update this page.